You don’t have to gut your kitchen to achieve an updated look.
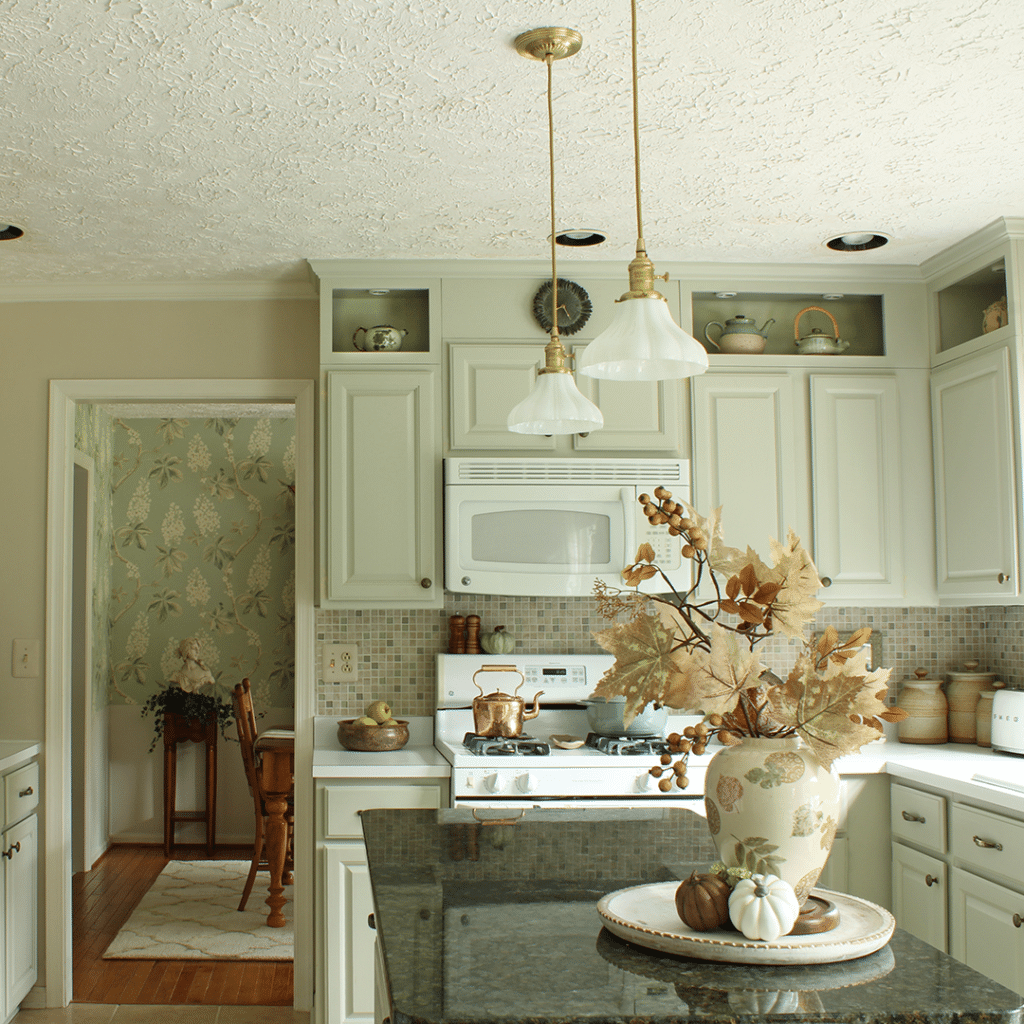
Full-blown kitchen renovations are expensive and messy to live through. Sometimes a gut-job is the only option, but if your cabinets are in decent shape, and you’re happy with the basic layout of your kitchen, there are options to update without a complete reno.
Table of Contents
ToggleA good foundation
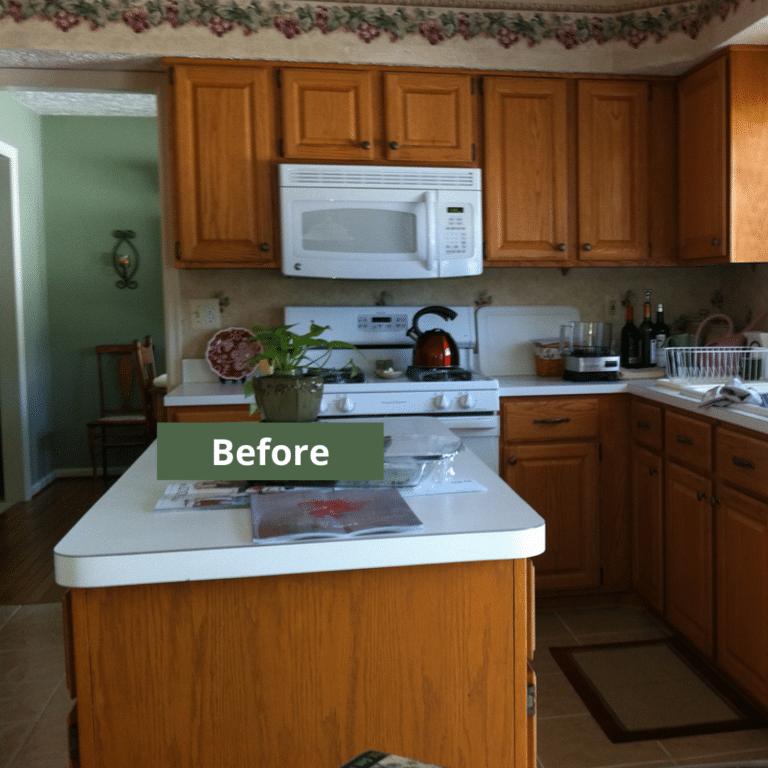
When we moved into our house, the kitchen had a lot of problems: orangey oak cabinets, formica countertops that were falling apart around the island, no backsplash, heavy bulkheads that surrounded the entire kitchen, an ugly vinyl floor, and a host of cosmetic problems. Oh, and a stove that shot foot-high flames every time we turned it on!
While the kitchen didn’t look great, it had a good flow and was functional–well, except for the stove. There are some things that can’t be ignored. The purchase of a new stove right off the bat was unavoidable.
When we toured our house, it was a mess. Each room was filled with so much stuff that it was hard to even maneuver through the house. The kitchen was especially bad. Every surface, including the flame-throwing stove!, was covered with junk mail. We couldn’t tell what color or material the countertops were without sifting through the piles of papers and envelopes.
But the house was a good size for our family of five. It was in a kid- and pet-friendly neighborhood and a good school district. And it was a good price, so we bought it. We made important updates, like adding a deck to avoid stepping out of the back door to a three-foot drop, and put the kitchen (except for the stove) on hold.
As our kids got a little bit older and the oldest headed off to college, we found the time to give the kitchen some love. In hindsight, we would have made these updates sooner. They were pretty affordable, and the kitchen was only out of commission for a couple weeks.
Decide what to update
I thrive in light, airy spaces, and this kitchen was anything but that! We decided to paint the cabinets and remove the bulkheads. They surrounded the entire kitchen and even spanned the space above the window and a doorway. Before tackling that, we decided to address one more pressing issue. Much like the stove of death, this couldn’t be ignored.
1—Replace the island countertop
Our kitchen came with white formica countertops. Of course, I wanted something more updated, but replacing them would have been a big expense. They were in very good condition except for the countertop on the island. The laminate pieces that covered the side edges were constantly popping up. We glued and re-glued, but they would randomly come loose and shoot out as if on springs, smacking anyone who happened to be walking by.
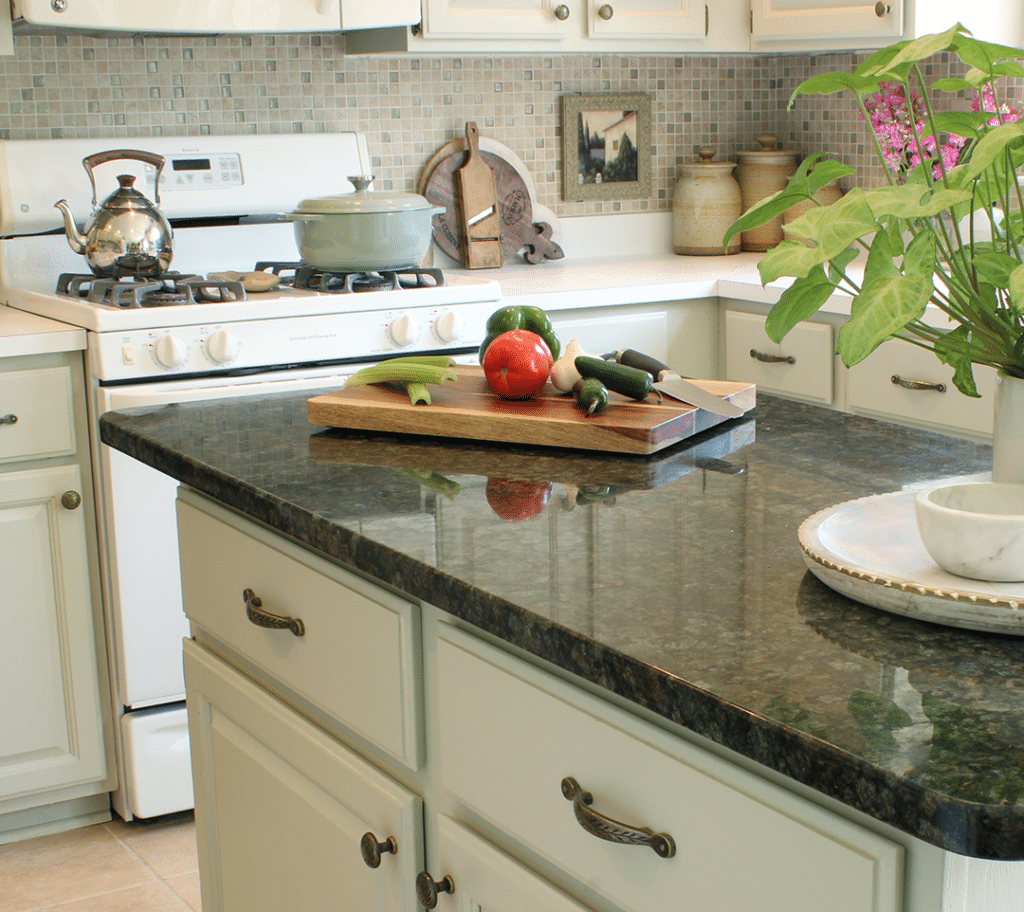
We kept ignoring the problem because we were not ready for the huge expense of replacing all of the countertops. Finally, we decided to check out the local stone yard. We found a granite remnant that we liked. There was not enough to do our entire kitchen, so we had it cut to fit our island. We even enlarged it by several inches in length and width to give us more usable counter space. Since multiple surfaces in the kitchen is a design trend, the island seems intentional.
2—Paint the cabinets
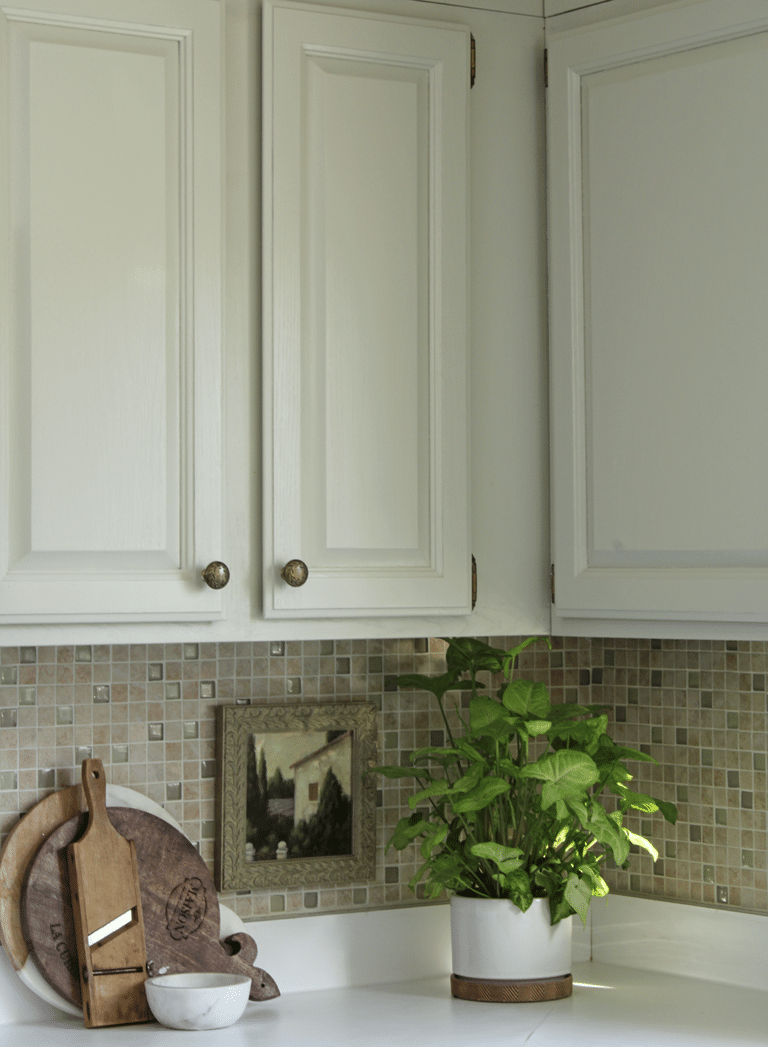
Next, we decided to brighten up our space with paint! To choose a paint color, we got some samples and tried them out on one cabinet door. We lived with each for awhile and finally decided on Benjamin Moore Vale Mist. Green is my favorite color, and Vale Mist is a nice neutral gray-green. We tried a couple of white paints, but we were not replacing the white countertops, and I wanted some contrast.
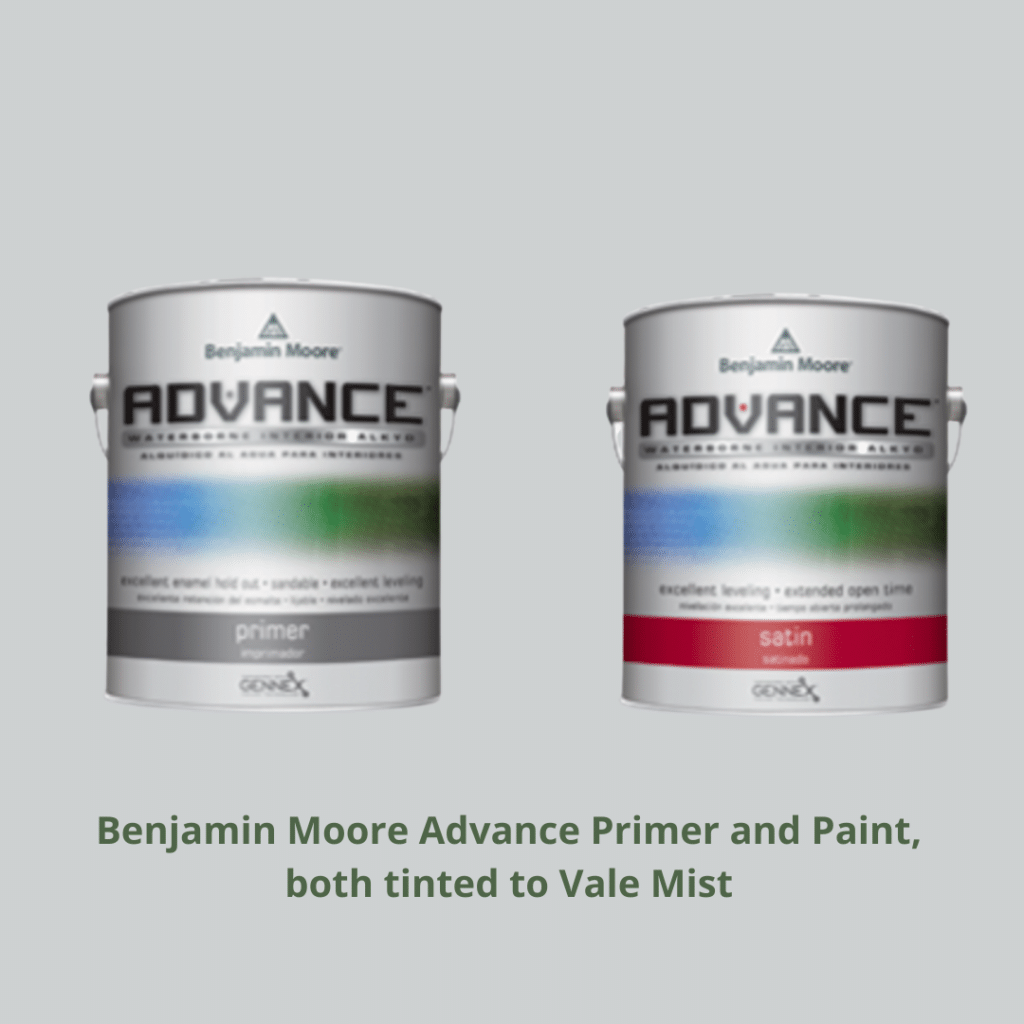
There are a lot of how-to-paint-cabinets tutorials out there. My method was the old-fashioned way. I removed the cabinet doors and used a palm sander to sand off the gloss finish and any bad blemishes. I then applied one coat of Benjamin Moore’s Advance Interior primer, tinted to the Vale Mist color, to the fronts and backs of all doors. I followed with two coats of Benjamin Moore’s Advance Interior Paint in satin. I used a good angled brush for the difficult-to-reach grooves, and a microfiber roller for the flat surfaces. The paint is self-leveling and didn’t leave brush or roller marks.
3—Remove bulkheads
While the doors were off of the cabinets for painting, we decided to remove the cabinet boxes in the areas where the bulkhead had to be taken out. This allowed access to the bulkheads, and also made painting the cabinet boxes easier. Dave, my husband, broke through the drywall with a hammer to start the removal process. Once a lot of the drywall was removed, the framing structure was exposed allowing us to saw through the frame and remove bulkhead down to the back wall.
Replace bulkheads with upper cabinetry to hide existing utilities
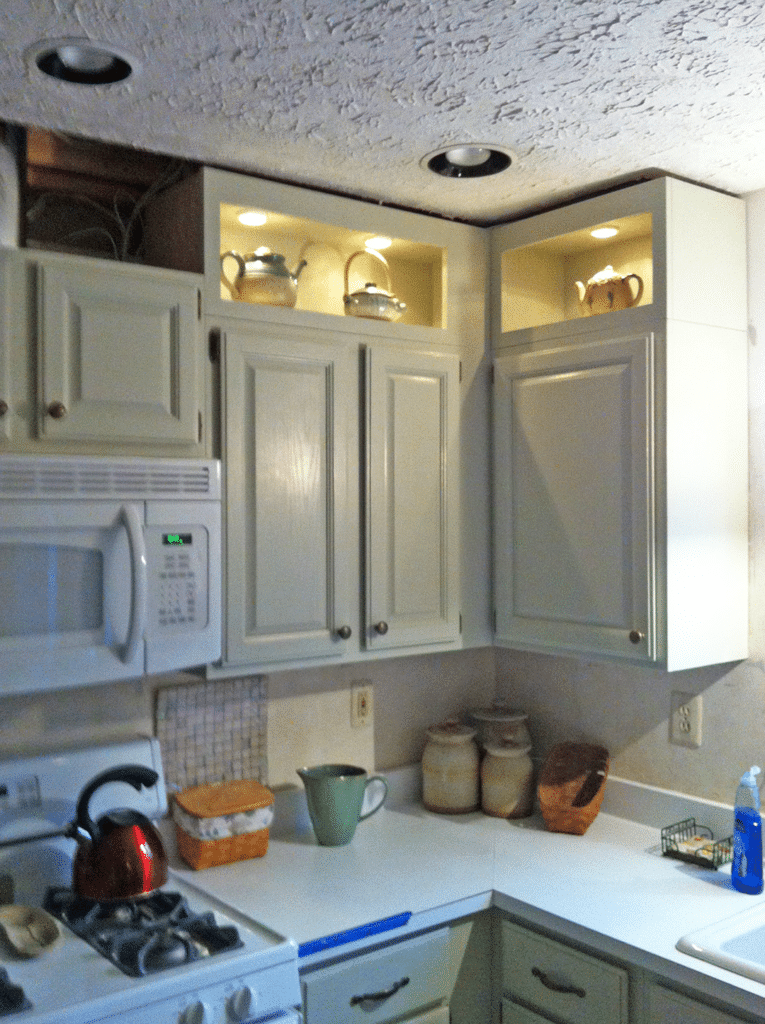
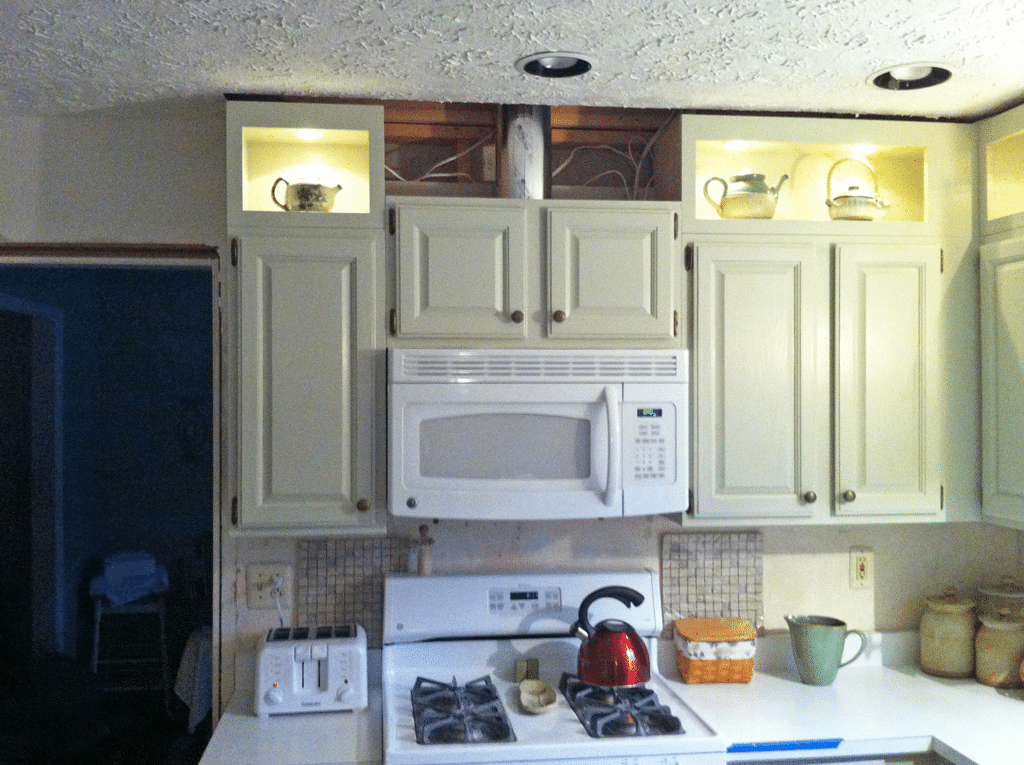
Unfortunately, our bulkhead was hiding some plumbing and electrical infrastructure. Dave was able to reroute both, but there were still some pipes and wires that were not flush with the wall. I really wanted to open up the space and didn’t like the idea of having to box in the exposed utilities. We decided to add open cabinetry above the existing cabinets. Since we wanted these to look seamless, we hired a woodworker to build them for us. They were just open boxes made out of oak with grain that matched our cabinets. Since we installed them ourselves, they were very affordable. To hide the pipes and wires, we had the sides of the boxes made to the same depth as our upper cabinets–12 inches. But we asked for the backs to be inset 3 inches, allowing space to snake wires and pipes behind the upper boxes. When looking at the finished product, it’s not at all obvious that the boxes are not as deep as the cabinets.
Add crown molding to finish the top edge
To finish the upper cabinetry, we added crown molding around the room and painted it to match the cabinets. Before installing the crown molding, we got a light kit at Lowes and installed lights in the tops of the boxes. The addition of the open boxes above the cabinets really makes the room look taller. The bulkhead cut it off and made it feel as if the ceiling was closing in. I like light and bright spaces, but even if you wanted to do this and use a dark, moody color, it would elongate the cabinets and open up the kitchen.
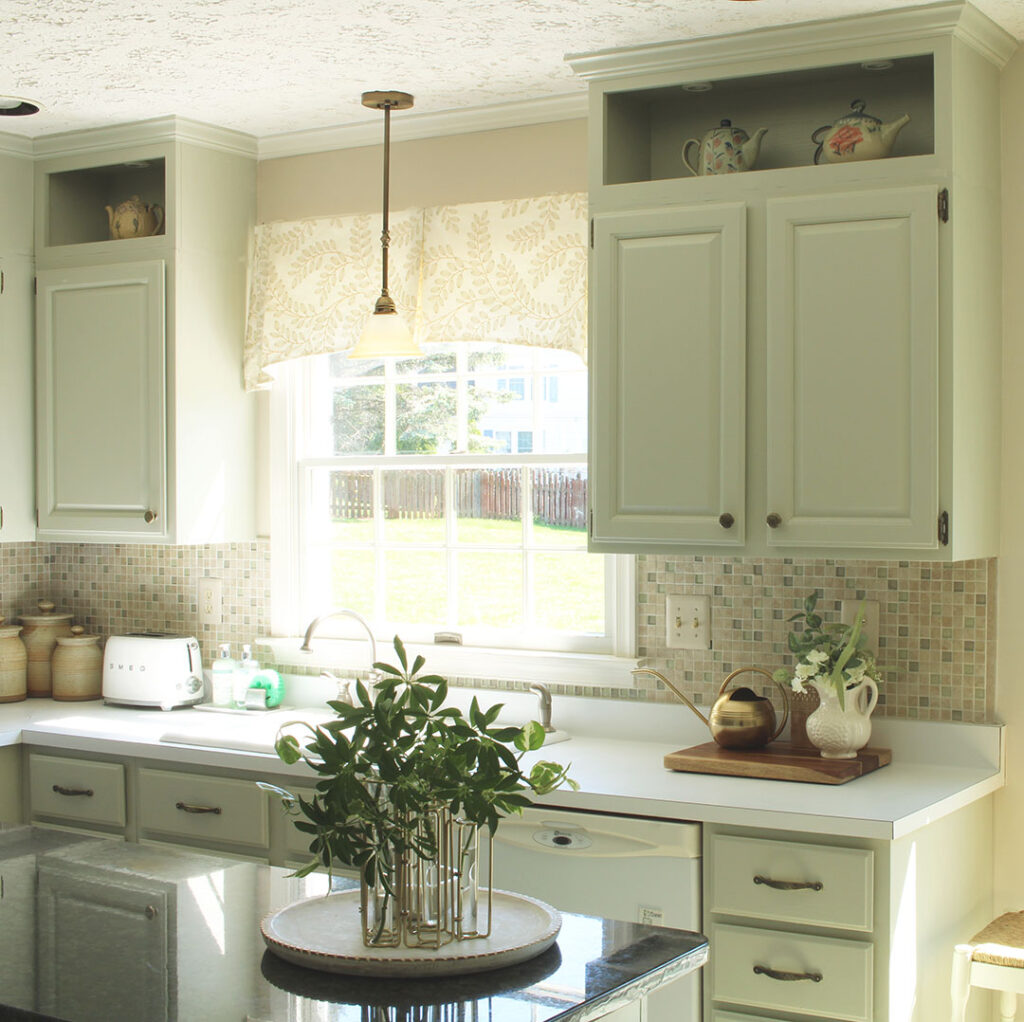
4—Add a backsplash
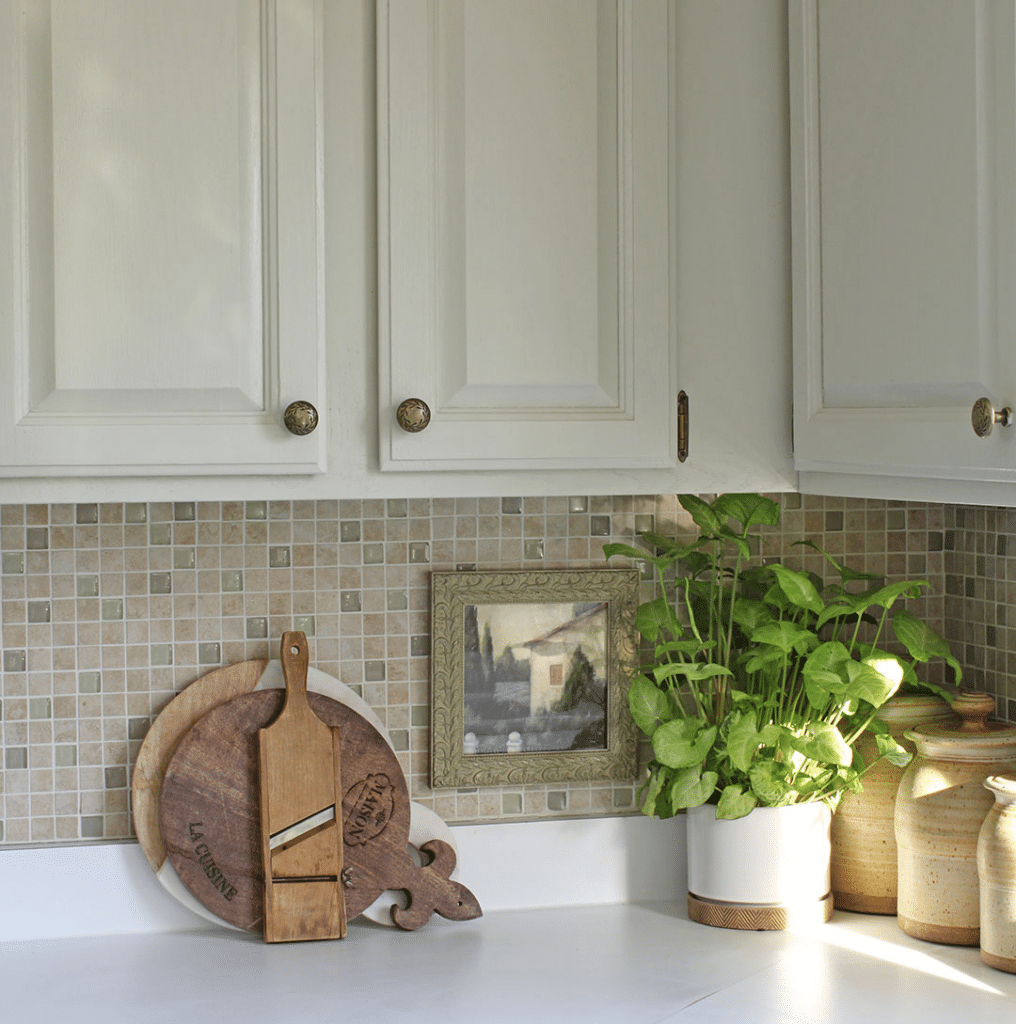
There was no backsplash in our kitchen unless you count wallpaper and a three-inch lip of formica. We found an affordable option at Lowe’s that tied in the color of the cabinets and the color of the tile floors. This option came in 12″ x 12″ sheets and was pretty easy to install ourselves. It might be getting a little dated, but I still love this backsplash. Adding a backsplash is a great way to add some character to your kitchen and make it uniquely yours.
5—Update the lighting fixtures
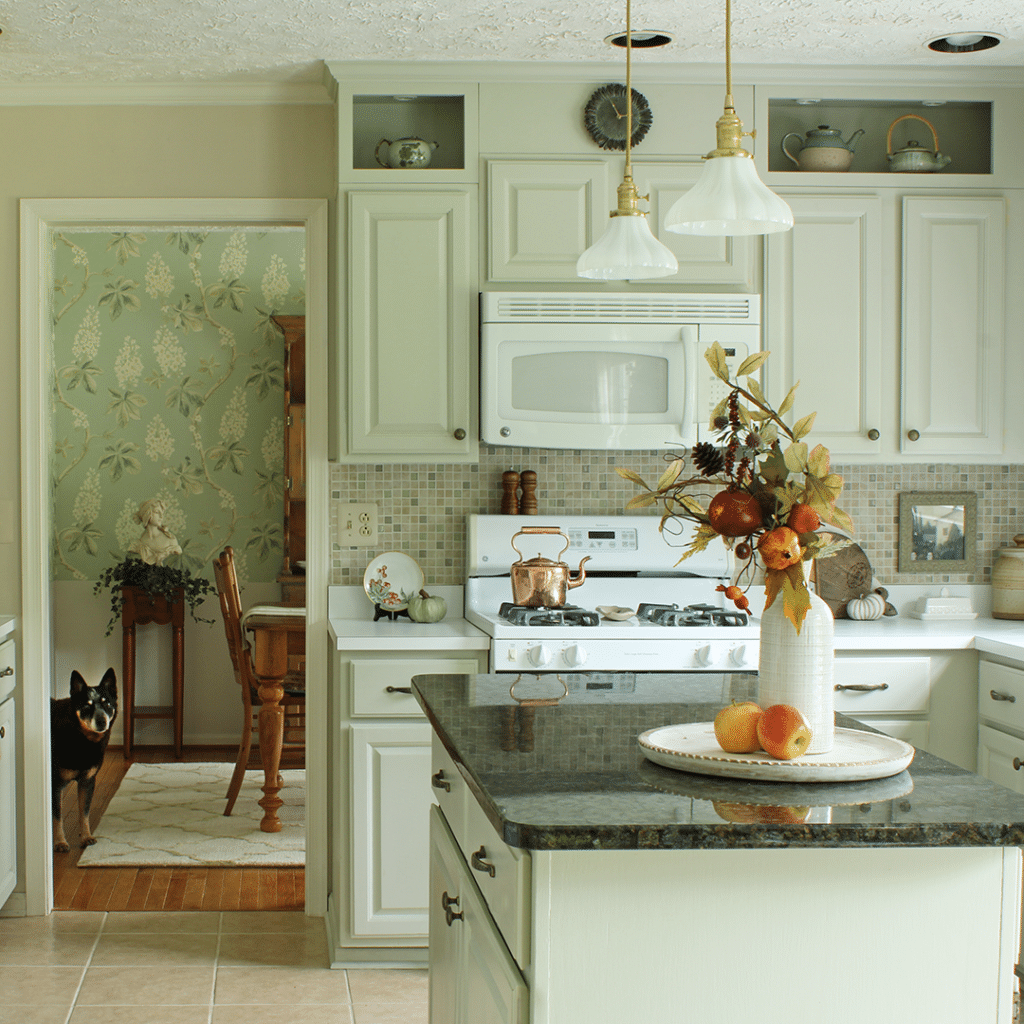
This is the most recent update to our kitchen. We had a lot of can-light fixtures in the ceiling, which provided light but not character. I had always wanted pedant lights over the island. There was one existing can light in the ceiling, but I thought two pendants would be pretty and focus the light on the countertop where we do most of our cooking prep work.
Our kitchen is on the smaller side, so I knew it was important to pay attention to scale when adding pendant lights. I settled on a pair from an Etsy shop, Bluemoonlights. They’re the perfect size and fit the cottage style of our kitchen. Dave had to rewire the one can light into two pendant lights, but the change made a big impact.
The addition of the pendant lights adds charm and function to the kitchen. We didn’t realize how insufficient the can light was until we added the pendants!
Still a work in progress
We have made these updates over a five-year period. While it might be nice to have a completed, updated kitchen all at once, each update has made a huge impact and made us love our kitchen even more. You can space it out, making it more affordable and still reap benefits with each change you make.
We still have plans to eliminate our kitchen desk and move the existing island cabinets into that space. We’ll build or buy a new island that can accommodate a microwave. Then we’ll add a pretty range hood over the stove. When we do that, we’ll replace the countertops, and we’ll have to get a new backsplash. This will be a more expensive phase, but we’ll still save the cost of new cabinets, and updates done over time are easier on the budget.
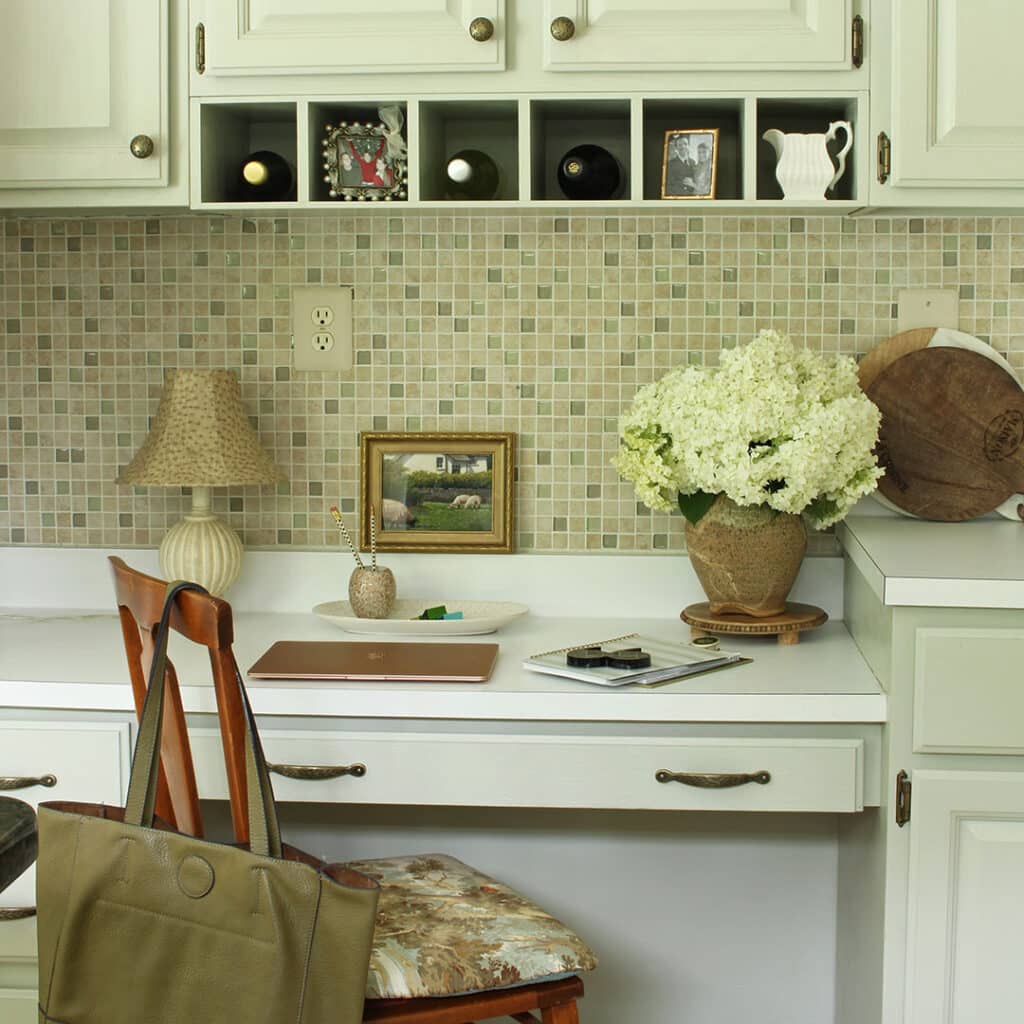
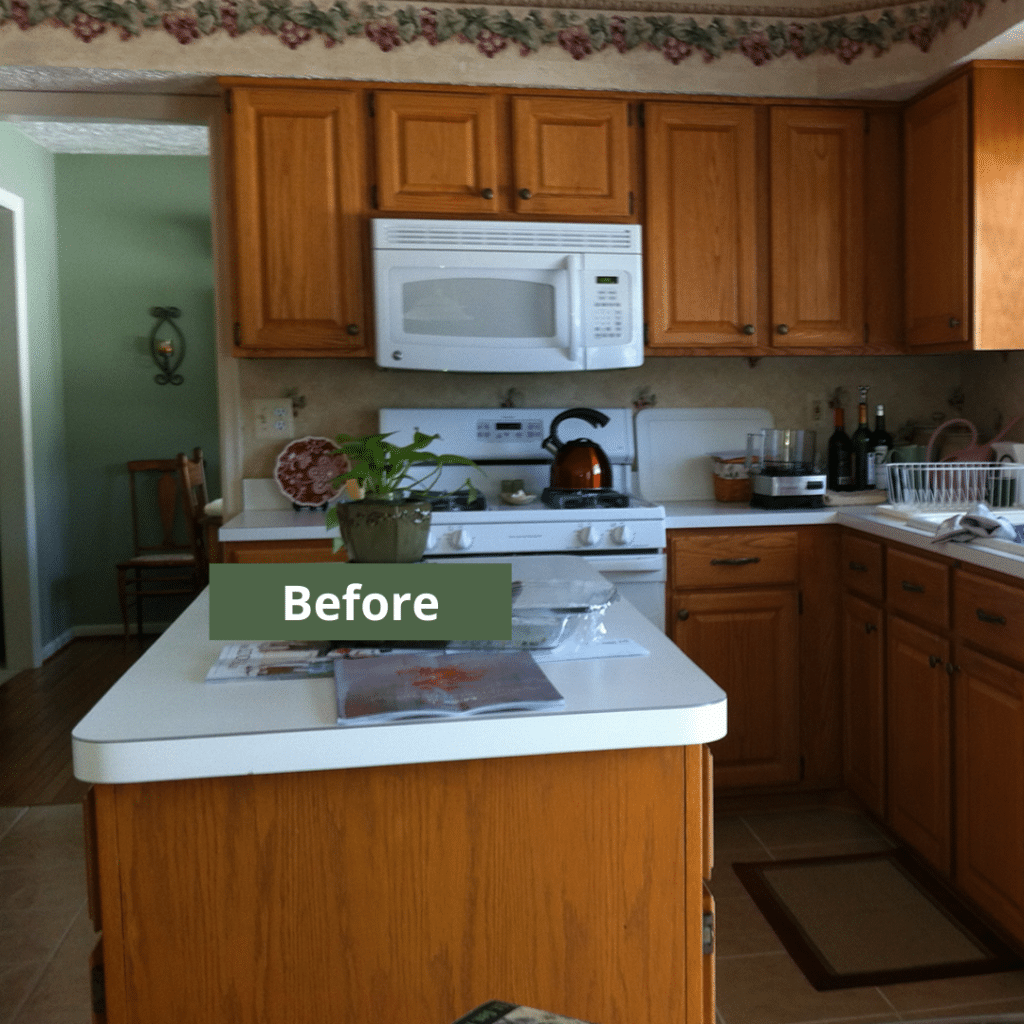

The before and after, above, are a good illustration of how relatively inexpensive updates can have a big impact on a space. Even if we never make any more updates, the changes we made have given new life to our kitchen. You really don’t have to do a complete reno to create a space that is functional and suits your design aesthetic!

