Whether you’re planning a romantic dinner for you and your sweetheart or hosting a February dinner party, this easy heart-shaped napkin fold tutorial using napkin rings will elevate your table and up the Valentine’s vibe. They would be fun for a Galentine’s lunch, too!
Table of Contents
ToggleA heart-shaped napkin for every February event
My husband and I rarely go out for dinner on Valentine’s Day. Rather than fight the crowds, we choose to have a romantic Valentine’s Day dinner at home. It gives me an opportunity to break out some pretty china, our inherited silverware and cloth napkins. I’ve also hosted a special dinner for family and friends in February. I always try to bring in a bit of a seasonal theme, and napkins folded into a heart shape are perfect for this month of love.

Choose a napkin
I have collected a variety of cloth napkins recently. If you don’t have any, you can buy some to match your table theme. Another option is to cut pretty fabric into 18 x 18 inch squares. If you sew, hem the edges. If not, use pinking shears to create a nice finish to the edges. Maybe you have a floral tablecloth that you love but never use because the pattern is overbearing. If the floral is too much for a whole table, cut it into squares and make napkins out of it. The tablecloth will get some use and not overwhelm your table.
A square napkin works best for this fold. Mine are 18 x 18 inches. The napkins I used have a pretty lace trim. This isn’t necessary, but a lacy trim is pretty for Valentine’s Day!
Choose a napkin ring
For this heart napkin fold, you will also need a napkin ring. I have tea-themed napkin rings that are perfect for a Galentine’s lunch. Any napkin rings will work. They will be covered with a floral embellishment, so a simple metal ring will do the trick.
Choose a floral embellishment
I like to place a flower at the center of this napkin. Simple carnations work well. You can usually find them at the grocery store. If you don’t want to use fresh flowers, faux will work, too.
Heart-shaped napkin fold tutorial
Now that you have your supplies, you can follow these step-by-step instructions to add a beautiful embellishment to your table.
Step 1
First, iron your napkins or fabric. Creases and wrinkles will ruin the finished product.
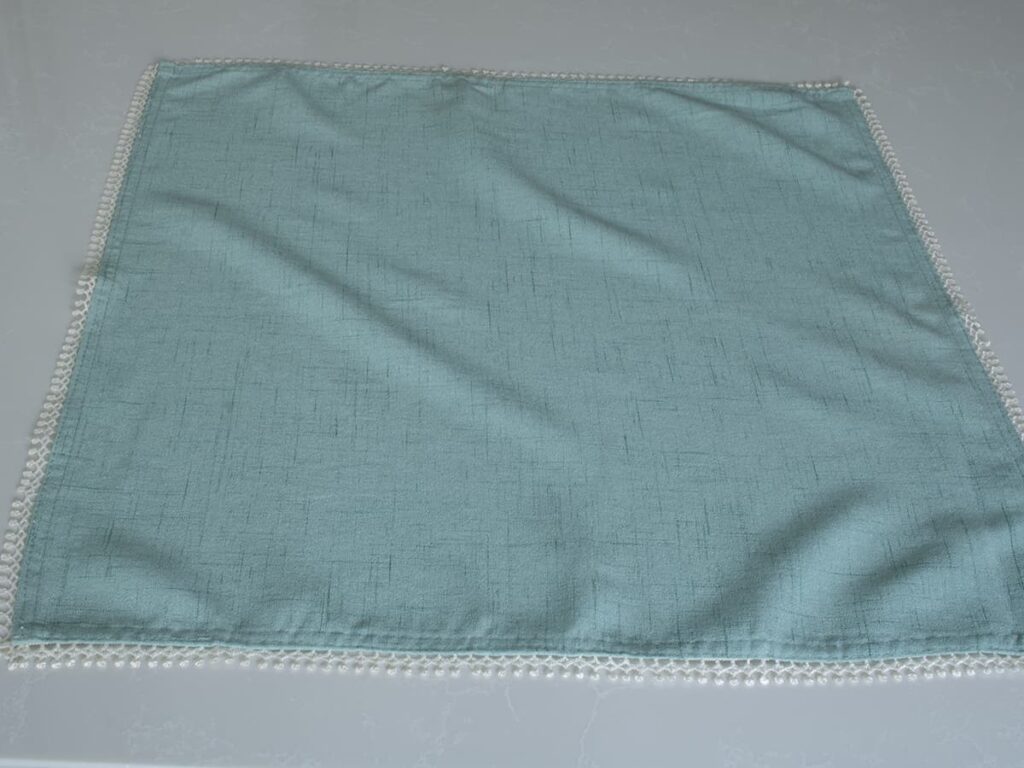
Step 2
Fold napkin in half.
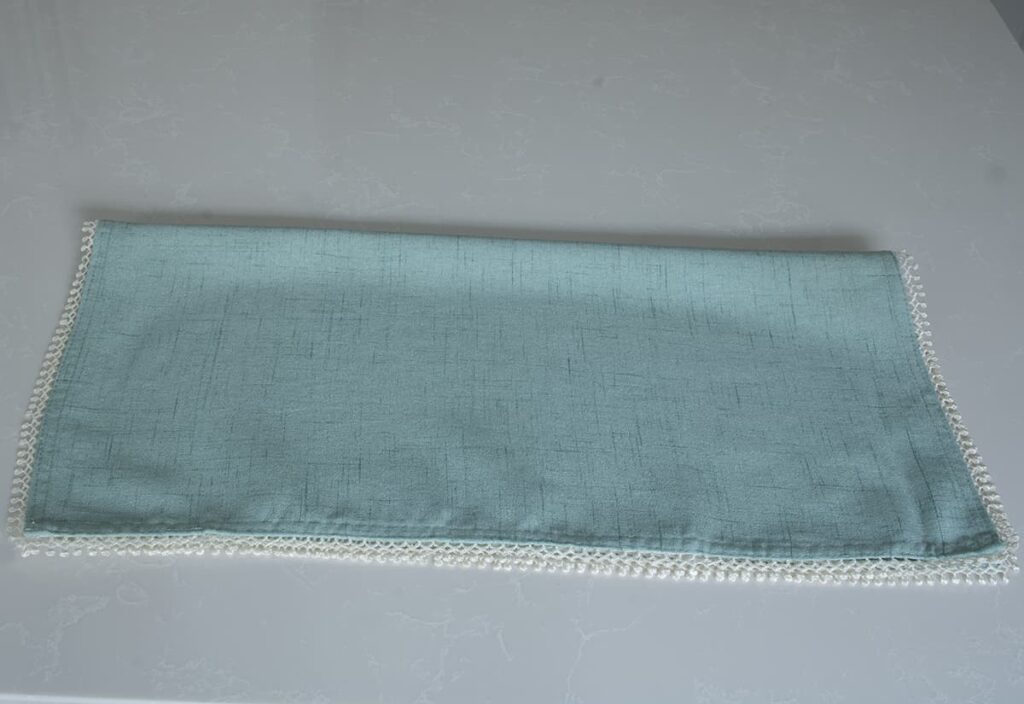
Step 3
Fold in half again. If your napkin has a lace edge or other trim, turn the folded napkin so that the trim is at the bottom.
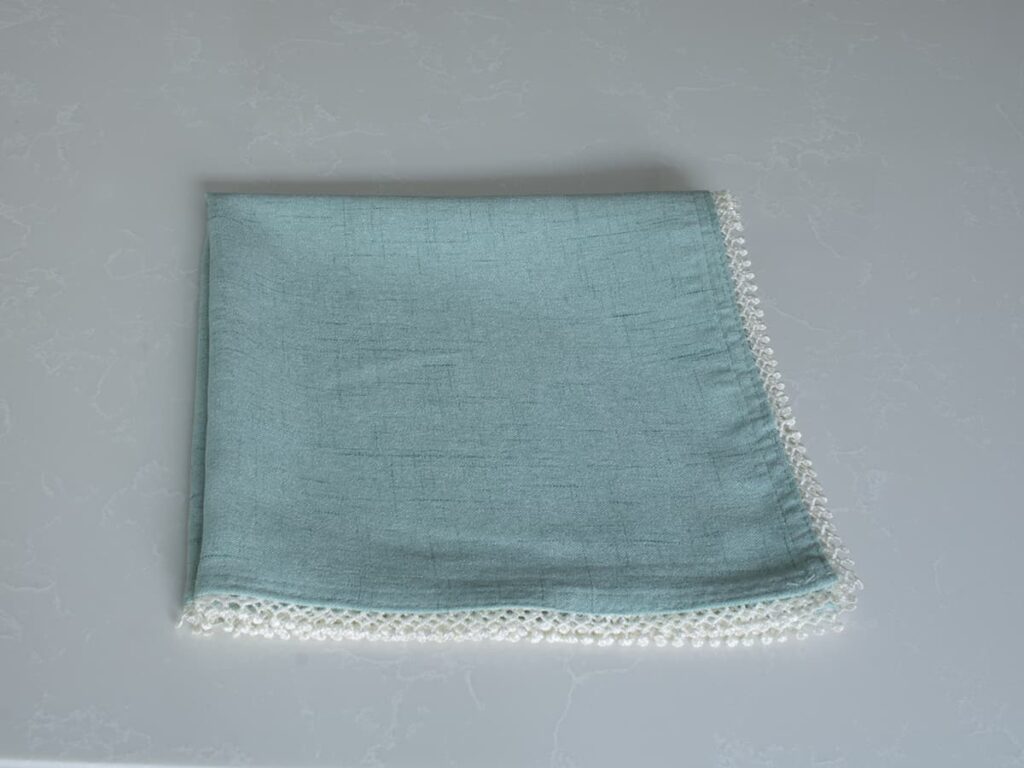

Step 4
Turn the two side corners in about a fourth of the way and hold in place while folding napkin diagonally, covering the folded in corners.


Step 5
Flip napkin over so that trim is on the front. Skip this step if your napkin does not have a trim.
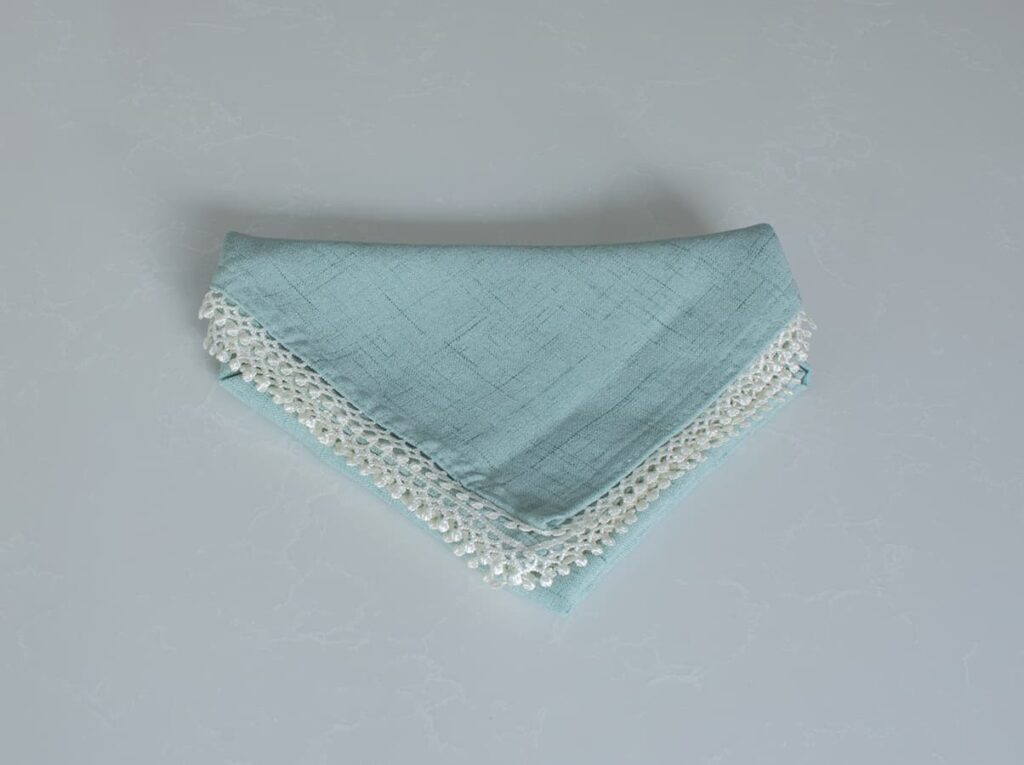
Step 6
Pinch center of top edge and pull through a napkin ring creating a heart shape.
Note: If your napkin is very silky, the napkin ring may not stay in place. If this is the case, a rubber band works well and will be covered with a flower embellishment.

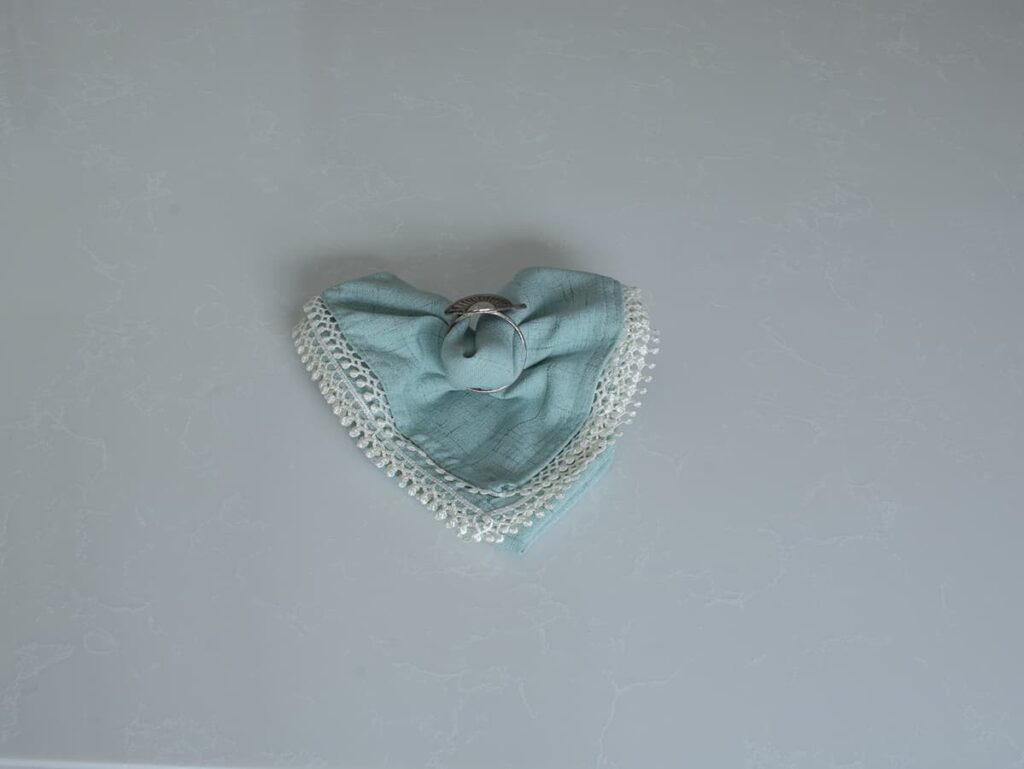
Step 7
Top the napkin ring with a flower. You can simply place the flower over the ring or tuck the stem through the ring.
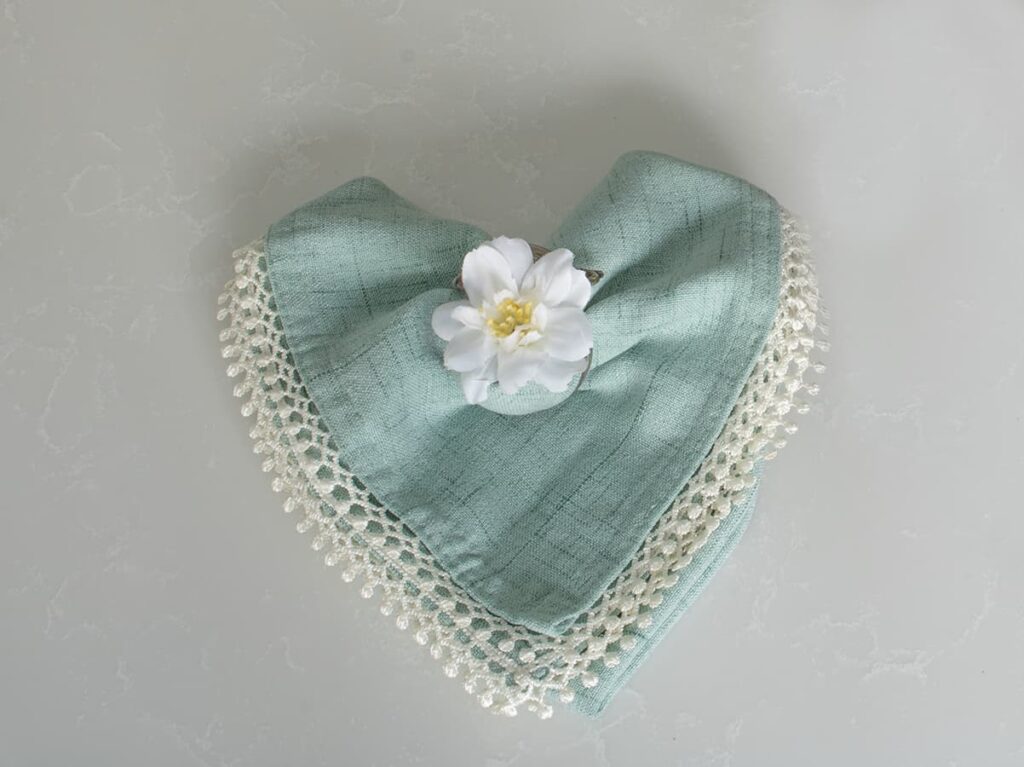
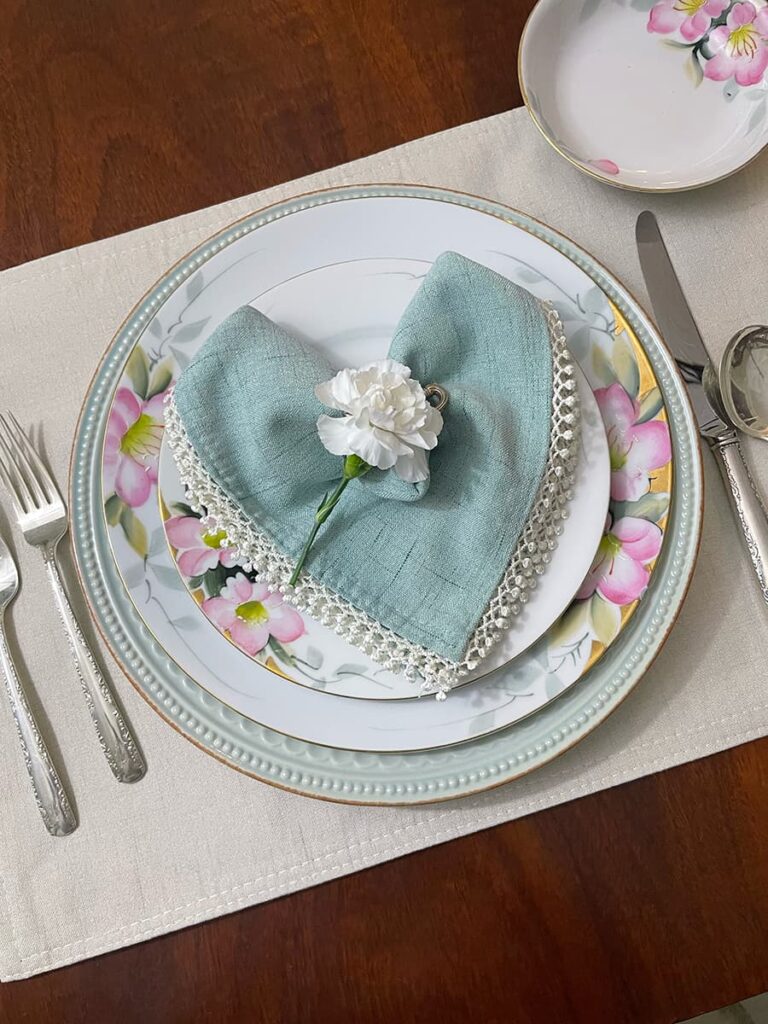
I like to place my napkin on top of a plate stack for a pretty presentation. Your sweetheart will be greeted with a symbol of love. If you’re hosting a dinner party, your table napkins will be the star of your Valentine’s Day table, and your guests will appreciate the extra effort you put into making the occasion special for them!
Napkins and napkin rings in a variety of price ranges
I may sometimes use affiliate links, which means a small commission is earned if you purchase via the link. The price will be the same whether you use the affiliate link or go directly to the vendor’s website using a non-affiliate link.
Click on the links, below, for the napkins used in this post and some other options.


8 Responses
I love this fun idea, Erin; so clever, I can’t wait to try it myself.
Thank you, Wendy! I think the little flower on top is a nice opportunity to personalize it for your table. Happy folding!
Erin how is it that everything you do is so exquisitely beautiful? You can take a simple napkin and make it look so lovely! And it is so easy!!!
Thank you so much, Crystal! This is an easy napkin fold! I hope you’ll try it!
You give such clear instructions, Erin! This is so clever and so pretty!
Thank you, Missy! It’s an easy napkin fold. Glad you liked it!
I love this idea, Erin! I also love how this could be dressed up or down, depending upon the napkin and place setting! Thanks so much for the great instructions too!
Thank you, Kristy! That’s a good point. It could be formal or casual depending on the napkin.